


Web experiments installation
- 1
Install PostHog JavaScript web SDK
RequiredOption 1: Add the JavaScript snippet to your HTML Recommended
HTMLOption 2: Install via package manager
And then include it with your project API key and host (which you can find in your project settings):
WebSee our framework specific docs for Next.js, React, Vue, Angular, Astro, Remix, and Svelte for more installation details.
Bundle all required extensions (advanced)
By default, the JavaScript Web library only loads the core functionality. It lazy-loads extensions such as surveys or the session replay 'recorder' when needed.
This can cause issues if:
- You have a Content Security Policy (CSP) that blocks inline scripts.
- You want to optimize your bundle at build time to ensure all dependencies are ready immediately.
- Your app is running in environments like the Chrome Extension store or Electron that reject or block remote code loading.
To solve these issues, we have multiple import options available below.
Note: With any of the
no-externaloptions, the toolbar will be unavailable as this is only possible as a runtime dependency loaded directly fromus.posthog.com.WebNote: You should ensure if using this option that you always import
posthog-jsfrom the same module, otherwise multiple bundles could get included. At this time@posthog/reactdoes not work with any module import other than the default.Don't want to send test data while developing?
If you don't want to send test data while you're developing, you can do the following:
WebWhat is the `defaults` option?
The
defaultsis a date, such as2025-11-30, for a configuration snapshot used as defaults to initialize PostHog. This default is overridden when you explicitly set a value for any of the options. - 2
Capture conversion event
RequiredOnce PostHog is initialized, you should be able to capture events. For your experiment to be meaningful, we need to capture an event that we want to measure, such as a conversion event.
For this tutorial, let's capture a conversion event on a
<button id="cta">click.Web - 3
Create an experiment
RequiredGo to the Experiments tab in the PostHog app and click on the New experiment button in the top right.

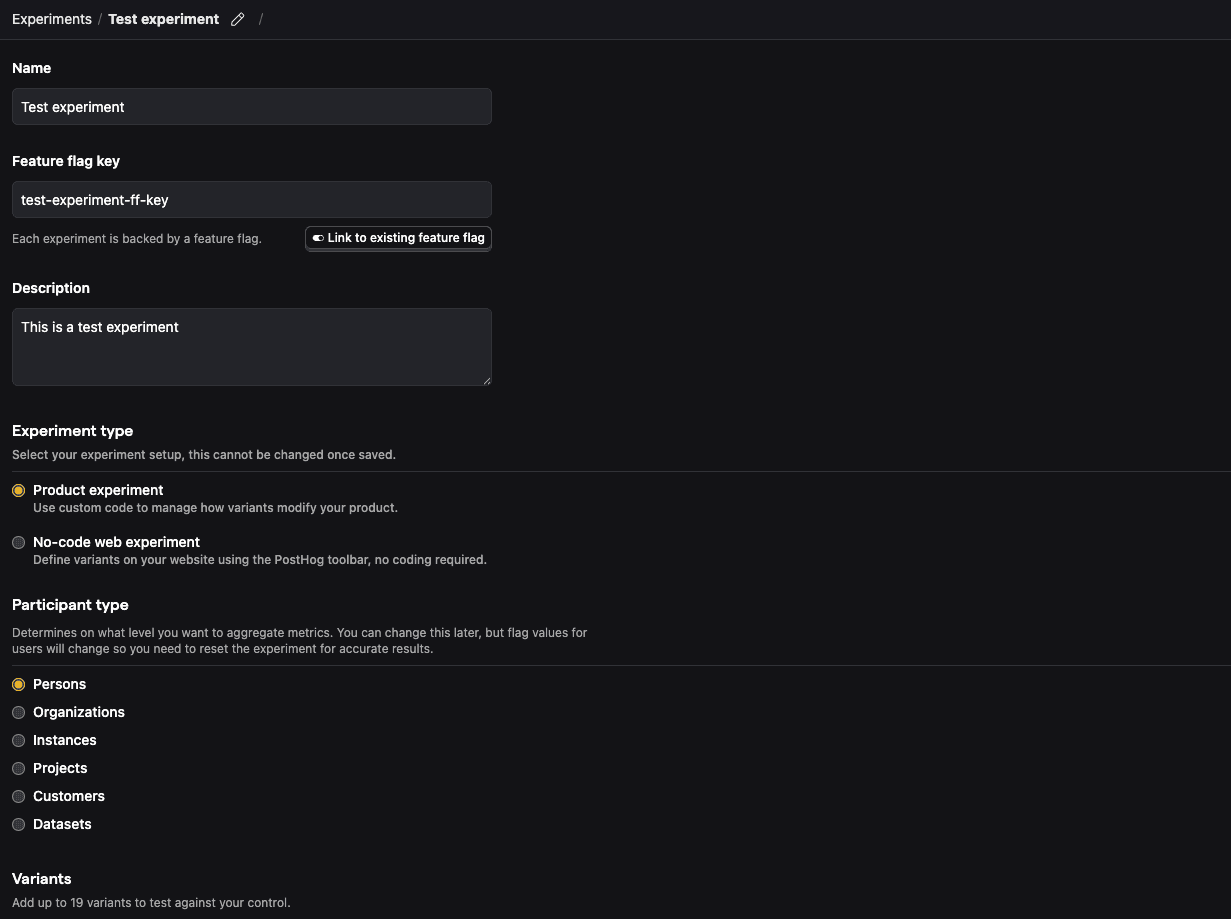
For this tutorial, let's create a new experiment using simplified test values:
- Name: "Test experiment"
- Description: "This is a test experiment"
- Feature flag key: "test-experiment-ff-key"
- Experiment type: "Feature flag"
- Variants: "control" and "test"
- Participant type: "Users"
Then click Save as draft.
- 4
Add primary metric and launch
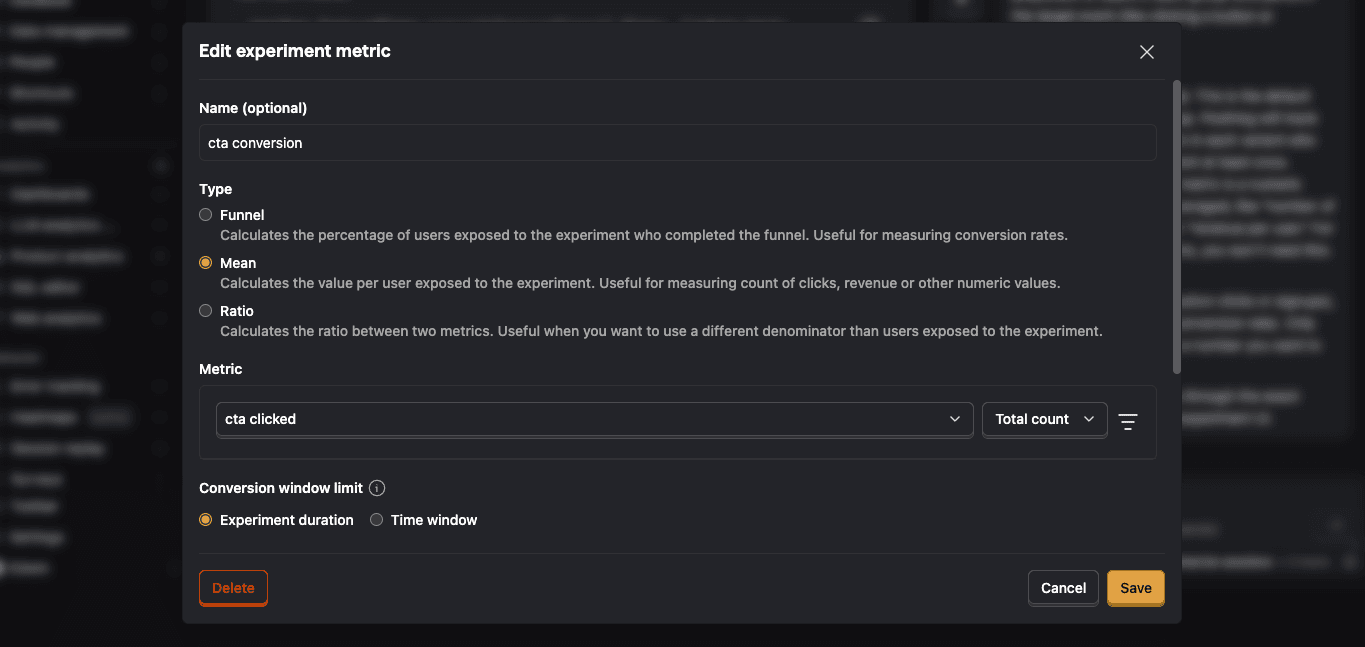
RequiredScroll down to the Primary metrics section and click + Add primary metric.
Choose Single-use and select Type > Mean.
Then search for the event
cta clickedunder Metric and click Save.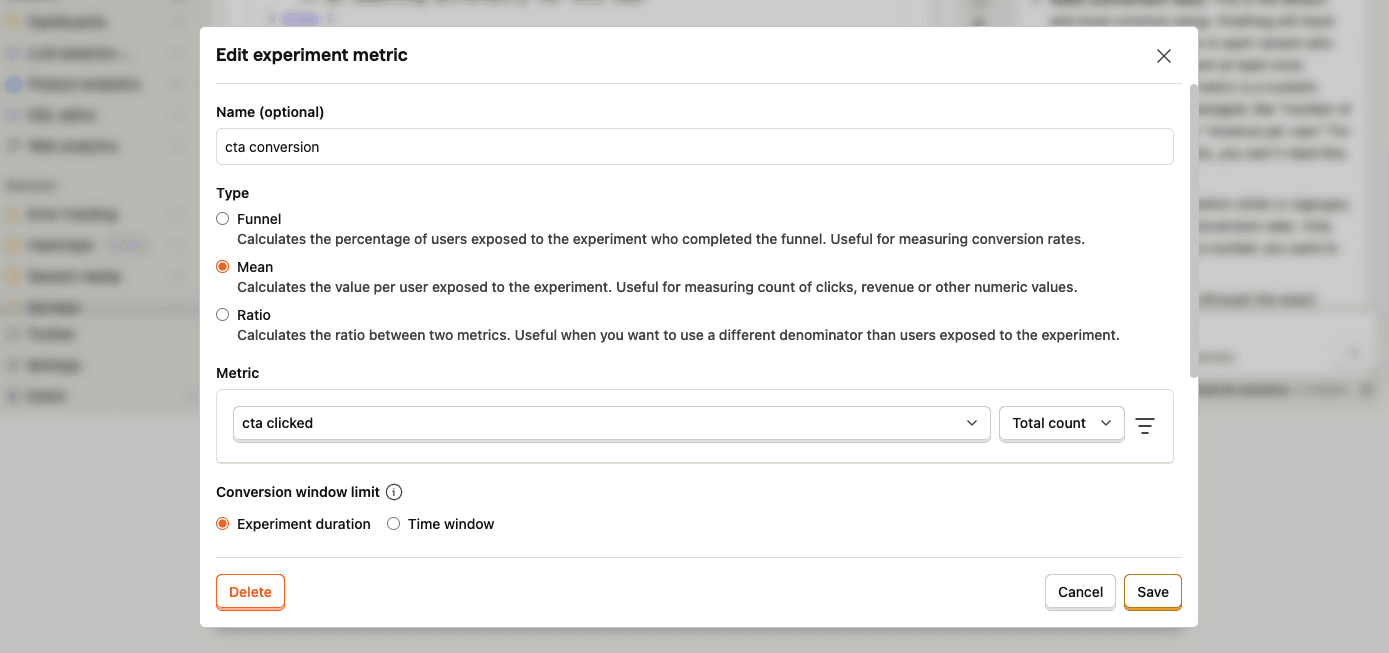
By default, experiments are exposed to 100% of users. You can customize release conditions to expose the experiment to a subset of users.
For this tutorial, we'll ship the experiment to all users and click Launch in the top right.
- 5
Call feature flag
RequiredUse the PostHog SDK to call the experiment flag and change the
<button id="cta">text based on the assigned variant.WebNow when a user triggers a
cta clickedevent, PostHog automatically assigns the user to a variant and records an experiment exposure.By default, users are split equally between variants. If you want to assign specific users to a specific variant, see more about distribution and release conditions.
- 6
Evaluate experiment results
RecommendedAs you capture more
cta clickedevents, more exposures will populate the primary metrics in your experiment.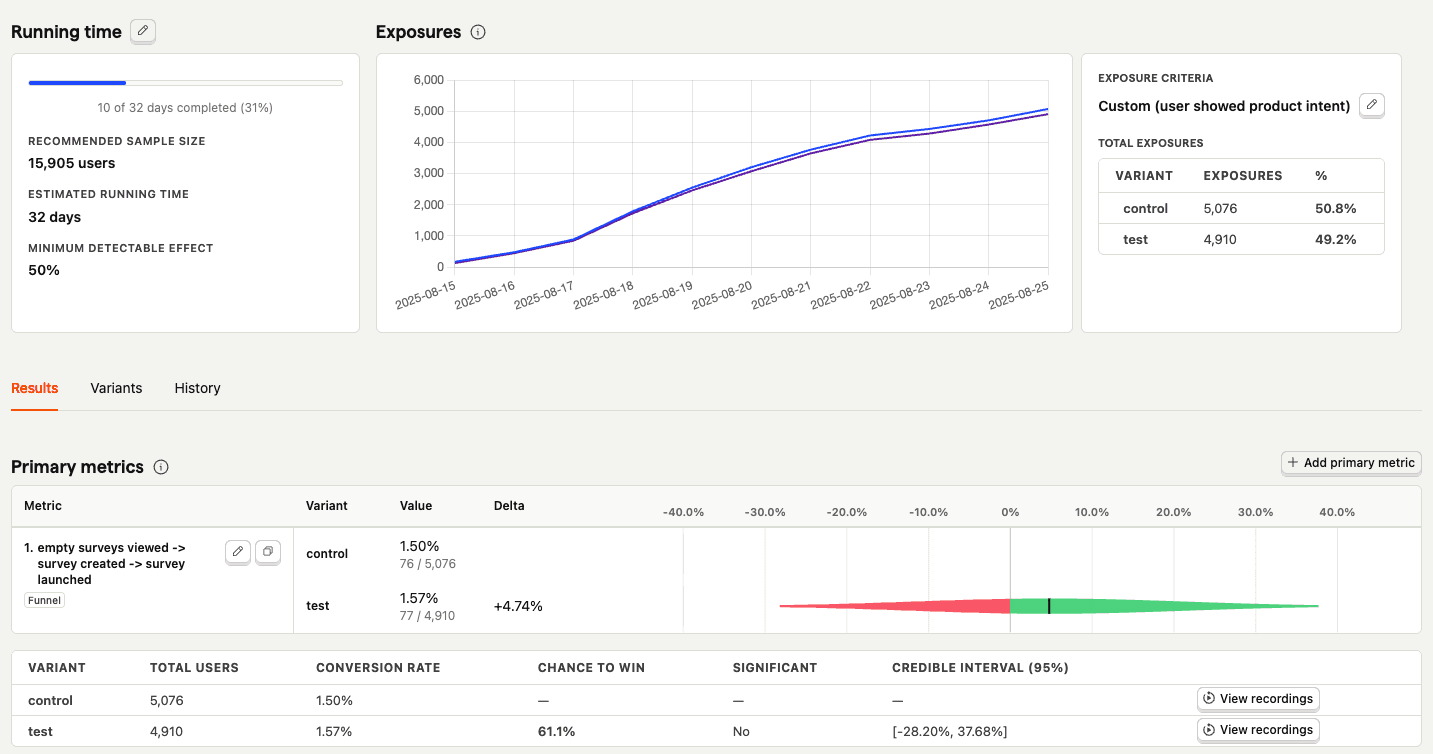
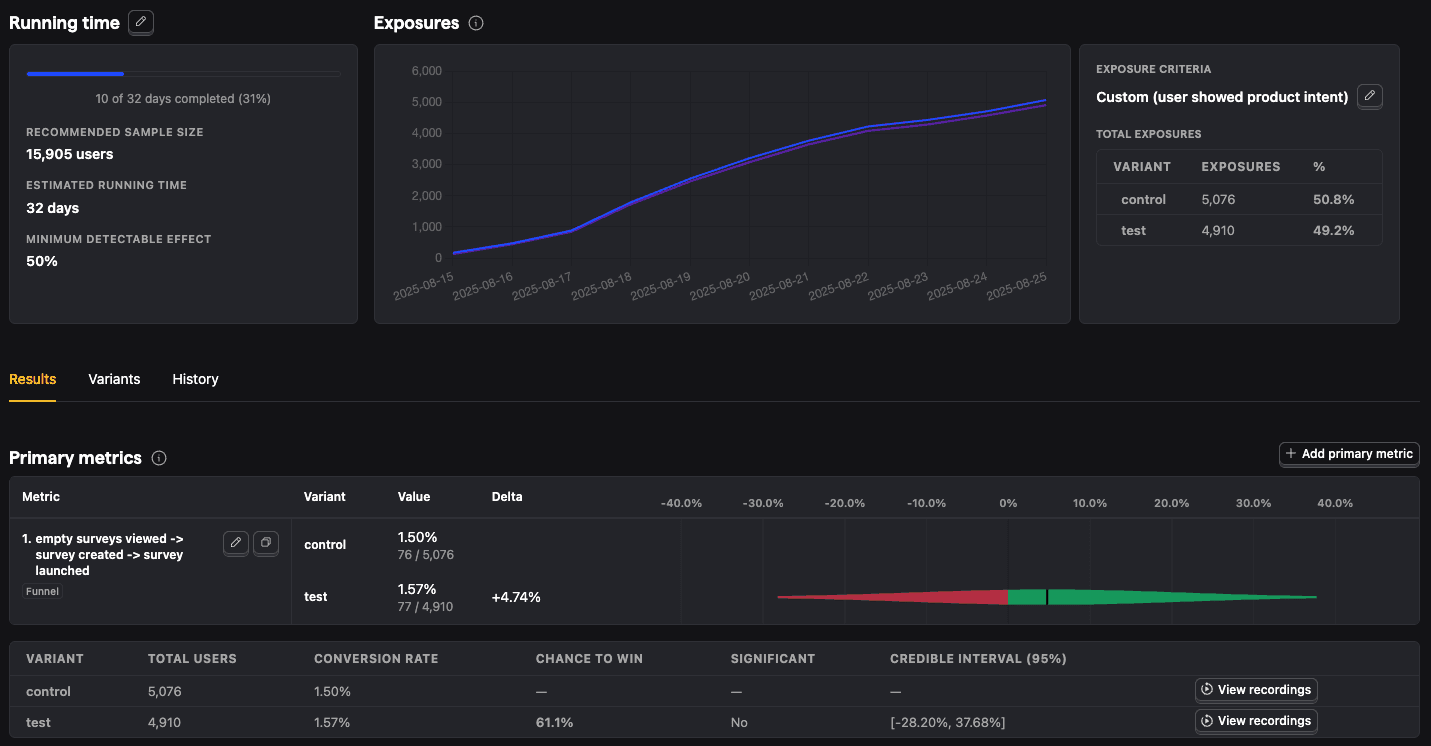
With enough data, you can analyze the experiment and its variants by:
- Conversion rates
- Statistical significance
- Credible intervals
- Chance to win %
- Minimum detectable effect
- And more